The following tips come from Sabine Grataloup's experience. She has been travelling for years on horseback all over the world with a mission to bring back pictures for use in brochures and websites for Randocheval, Absolu Voyages and Mongolia Travel and Tours.
This "quest for the cover photo" prompted her to find tips to capture the beauty of horses and riders moving in majestic sceneries.
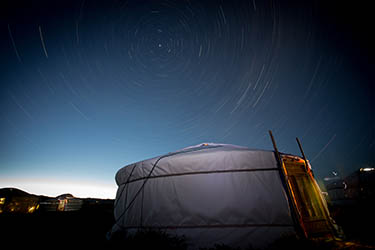
Mongolia is a fascinating country, with breathtaking scenery you would like to photograph constantly...
And yet, back home, you will often find just a fade picture, a horizon line with grass below and the sky above, which does absolutely no justice to the immensity that you had before you!
To avoid this trap, here is some advice - quite conventional in in terms of framing - but indispensable in Mongolia, under penalty of being struck by the curse of the empty photo!
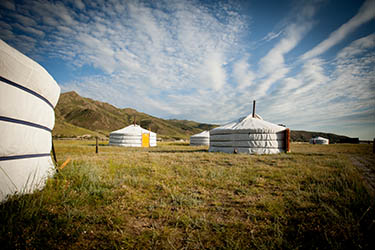
When you frame your picture, do not place the horizon in the middle of the frame, but stagger it:
Put something in the foreground: a tree branch, an animal, a rock or a flower just by standing at ground level. You will accentuate the perspective effect and avoid the "empty" picture.
Another pitfall of the photo in Mongolia is to have no reference to "disorientation". Some photos may have been taken 10 km away from your home!
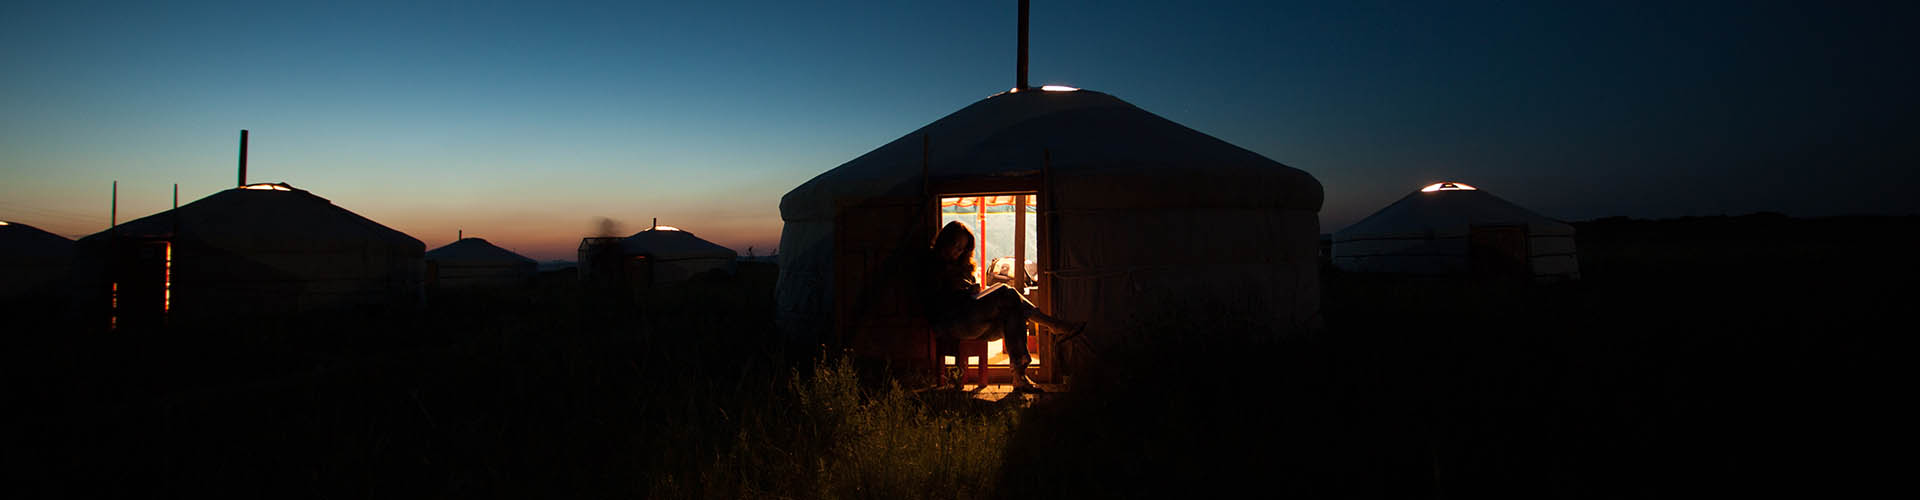
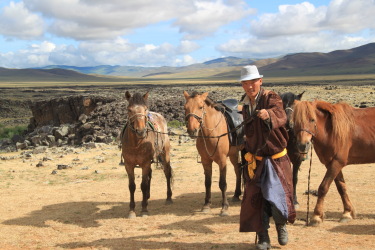
To avoid this, try to find something "typically Mongolian". Just a detail to provide context: a piece of yurt in the corner of the photo, a yak, an ovoo all wrapped in blue cloth, the saddle of a horse...
As always, ask the person if he/she agrees to be photographed. This will usually be the case, with a big smile to boot.
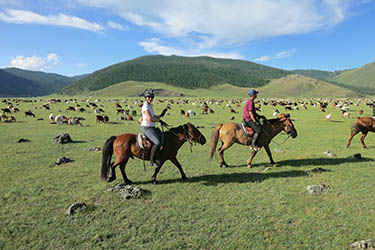
Avoid posed photos, choose the photos on the move, which will account for the everyday life of nomads, surrounded by their herds.
Do not always ask your subject to face the sun, on the pretext of avoiding the back light, because he/she will blink being dazzled, and facing sun erases the colors and contours.
To shoot someone on horseback if you are standing, try to put a knee on the ground, the angle will be better.
The major constraint when taking photos from horseback is the risk of blurring due to movement of the horse. To avoid this, place the wheel on your camera set to "Sport", or if you have a device that allows, select a very short exposure time.
This tip will save you lots of pictures, but this requires a very bright environment. On overcast days, the risk of blurring remains important.
To photograph other riders, the first instinct is to photograph those ahead of you.
It's nice to give an impression "like if you were there" because you have the wide open perspective in front of the riders, but you end up with pictures of human and equine rumps a little boring...
A variant of this technique is to photograph your horse's head. In action, you will often accidentally frame the ears of your horse.
Reinforce this by framing voluntarily ears of your horse (close enough, you will have a funny effect like "The world between my horse's ears").
If you shift your camera at your hip, you should be able to have your horse's head with the landscape to which you are heading. Nice too, but double or even triple the picture because with movement and inability to frame fine, it's a bit random!
If you turn around, it gets a little bit freestyle but you have riders and horses facing you, with a horizon not always "horizontal", precisely, but it can easily be corrected later with a photo editing software.
It's better, but these photos never give an impression of speed, because it is difficult to distinguish whether the horse walks or gallops on a front photo. You lose the concept of motion.
And if you are trotting or cantering, it also becomes very difficult to get a sharp picture under these conditions.
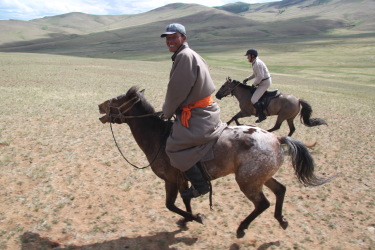
The best way to succeed your photos of riders is to shift your horse 5-6 meters on the side, so you can shoot other riders sie-view.
This way, the horse and the rider "fill" the picture, you have a beautiful sense of movement at a gallop, and you can interact with the rider being shot to make your pictures very much alive!
Furthermore, you are in a better position to hold your camera, and even at the gallop you get to take nice sharp pictures with a little practice.
Remember to shift to the left of the rider if you are right handed and right of the rider if you are left handed, so you do not have to cross the arm to take the picture.
If you have one, a SLR camera will of course be your best ally, whether for landscapes or portraits!
Lens side, you definitely need a wide angle for such landscapes.
But do not overlook a 200 or 300 mm lens, allowing you to photograph the Przewalski horses in the Hustai Park, a yurt rather distant, an architectural detail on a Buddhist temple ...
If you are on a horse riding trail, it will be hard to take your SLR camera with you.
OK, it makes great pictures, but it is heavy, it will hurt your back if you keep it accross the shoulder (I know what I mean, I do that, but it's my job...), you must hold it in your hand at the trot and canter, and the shocks will reduce its life expectancy...
The best solution is to take a compact camera (in addition to your SLR that you can keep for the visits and when you are not on horseback).
This compact camera will be kept at your belt, always ready to use!
Prefer a device that has a wide angle, high ISO sensitivity and a "sport" option.
Avoid cameras with external zoom, the dust can cause the system to bind and fully block the device.
These cameras are very useful on horseback. Some of them are even able to film and take pictures at the same time, but you will have hundreds of picture to checks after a 2 weeks trip, and you can't really frame your pictures.
Plan in all cases, whether you are a rider or not, strong equipment as it will be subject to shocks during 4x4 trips and dust.
Protect your equipment carefully, and be careful when you change the lens of your SLR.